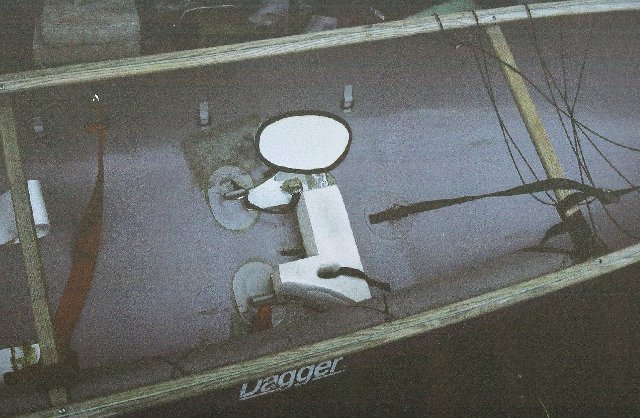
These pictures show the process of repairing a badly delamanated section of the hull of a Dagger Rival. The damage was caused because the outfitter shop used very brittle and stiff glue when installing parts of the saddle. This caused the hull to not have any elasticity or "give" when it hit the rocks. As a result instead of bending, the ABS hull material was just pulverized over a couple year period. |
There had been on previous repair in this area which prolonged the boat life. This new repair likely will enable the boat to be used a little longer, but due to the extensive damage and the stiff glue still holding parts of the saddle in place it probably will not last more then one or two seasons. |
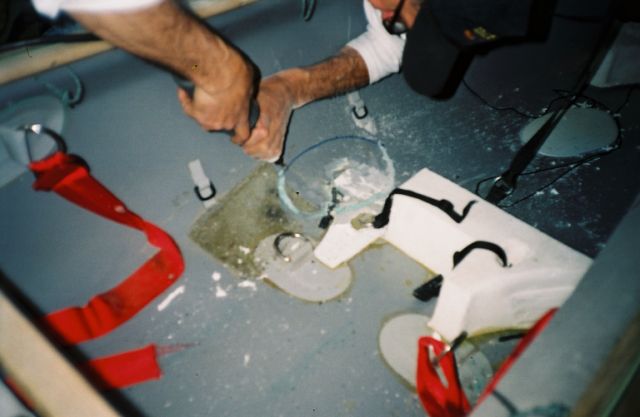
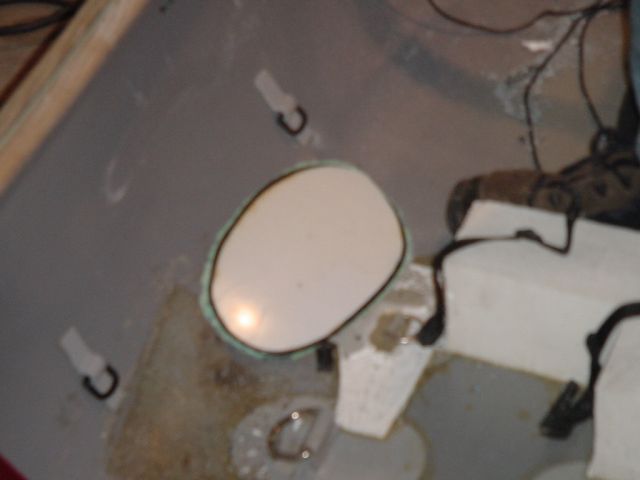
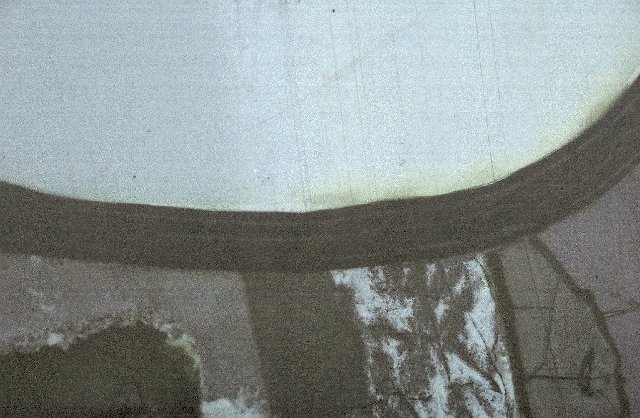
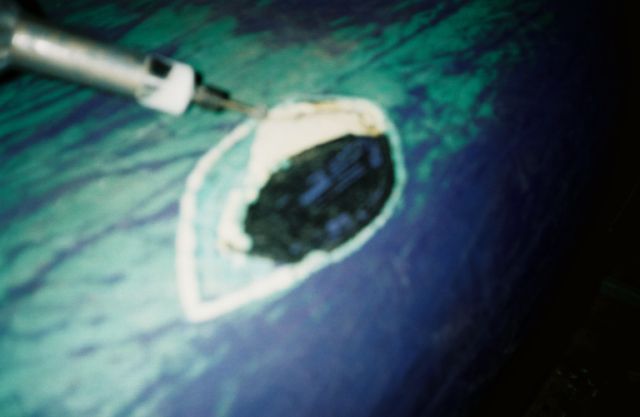
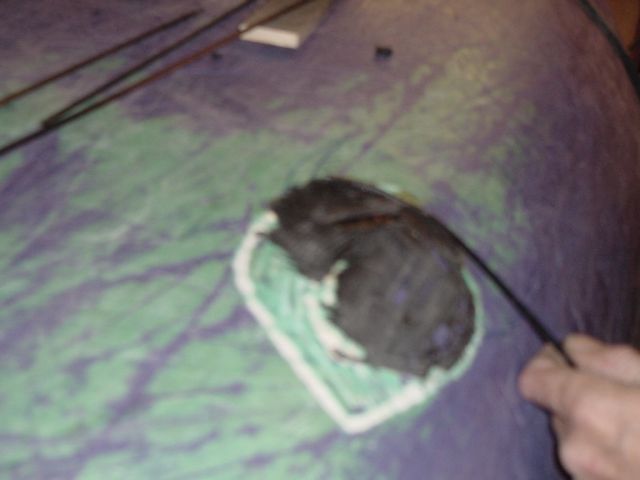
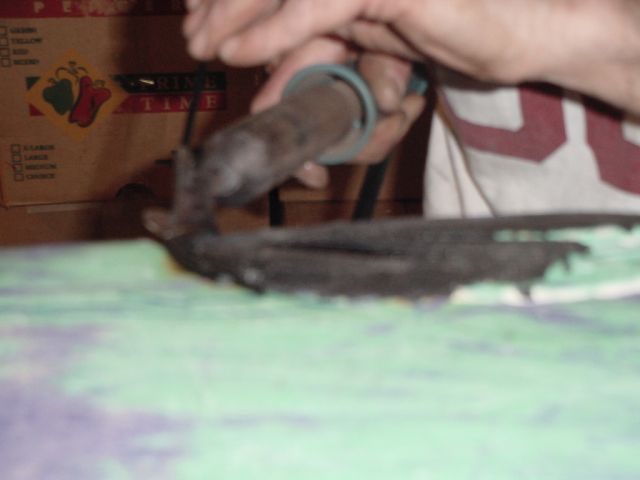
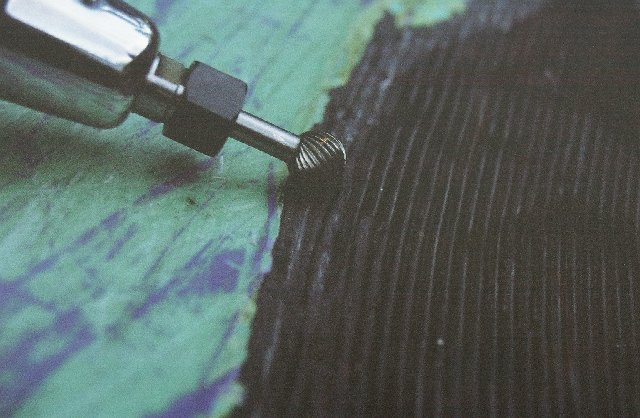
1. The area affected by delamination was identified by pressing against the hull with your fingers and looking for the range of the soft spot. An area to install a patch for reinforcement on the inside of the hull extending slightly beyond the delaminated area was outlined with a marker. Then a die grinder was used to grind out a small surface area of ABS where the edges of the patch would be welded. This allows the patch to have a good bond to undamaged ABS. |
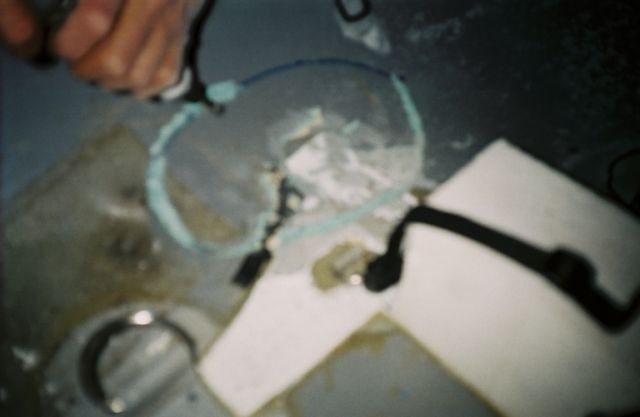
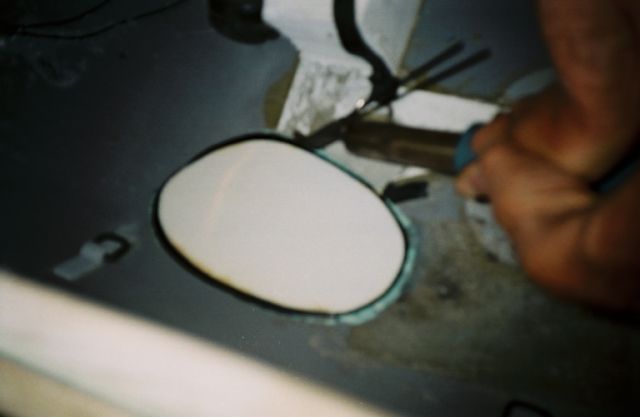
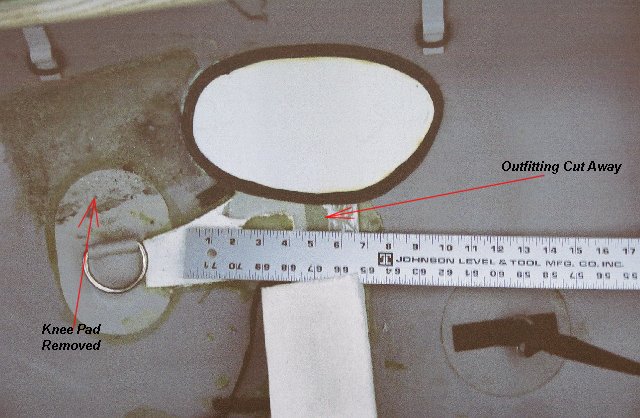
2. Closeup showing the die grinder at work. Note that the foam sections of the saddle had to be cut away to expose the hull. The knee pad also had to be removed. (Sorry about the blurred photos, I didn't realize the camera couldn't be that close.) |
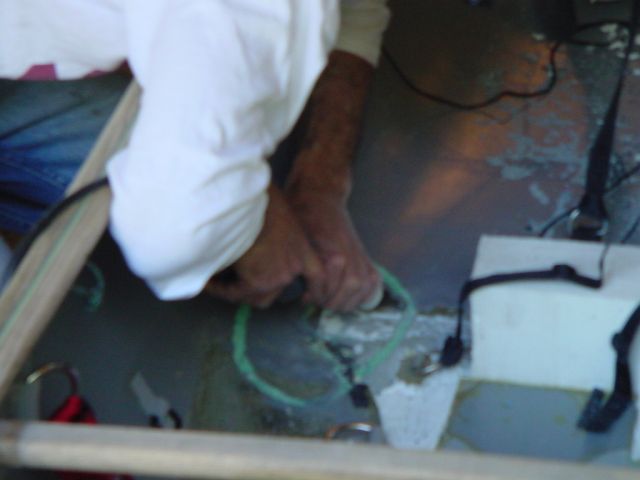
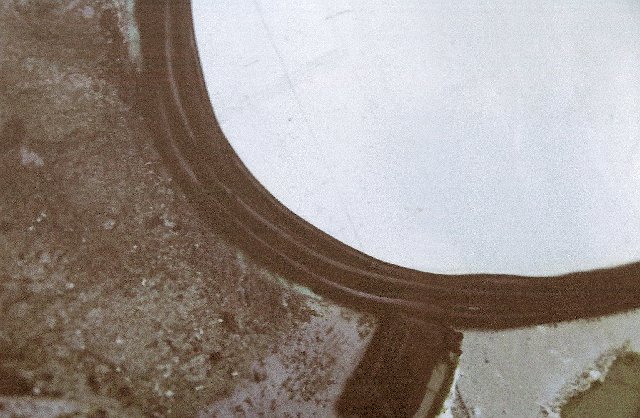
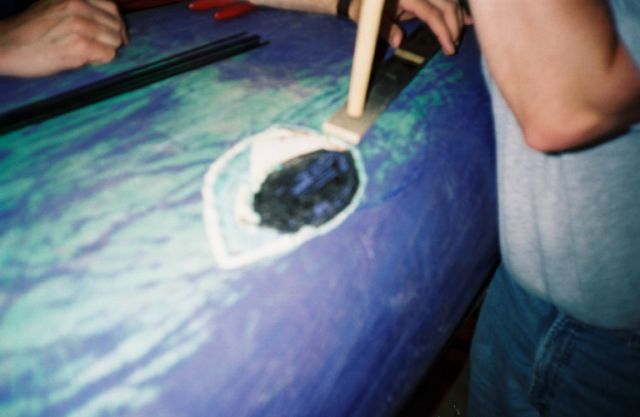
3. The edge where the inner patch will go is almost ground away. Good view here of the area where the missing knee pads were. You can also see where the stiff glue caused wear on the hull right below where the glue was. |
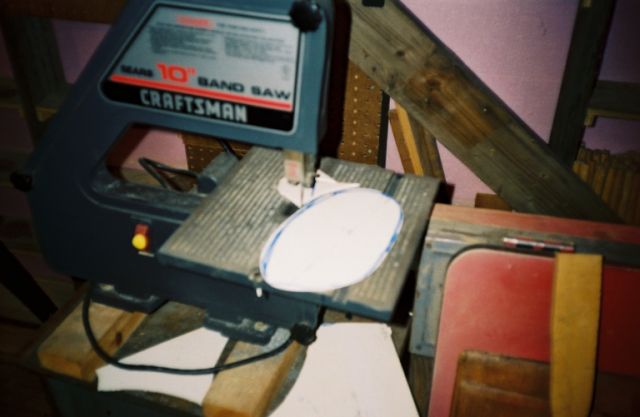
4. A patch to cover the damaged area is outlined on a raw ABS sheet, then cut out on a band saw. |
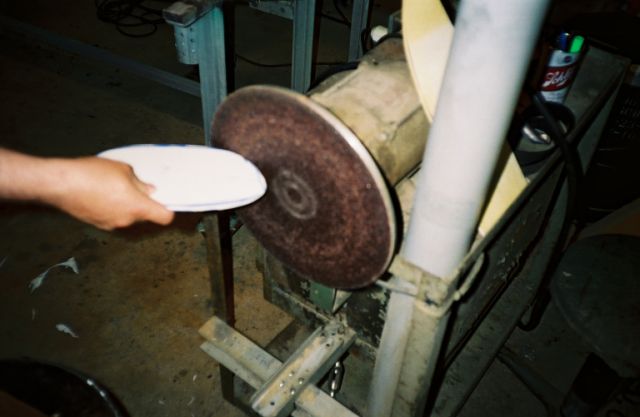
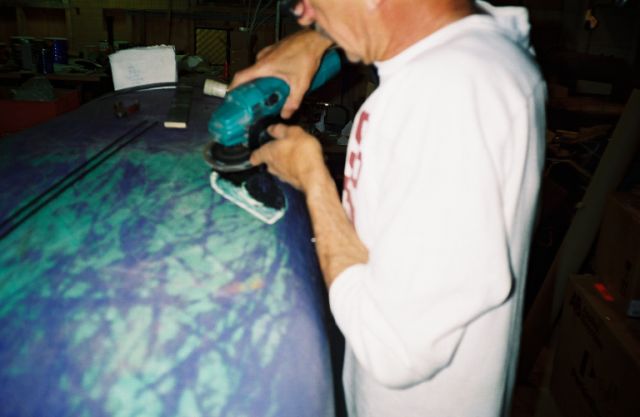
5. A grinder/sander is used to trim and smooth the edges. |
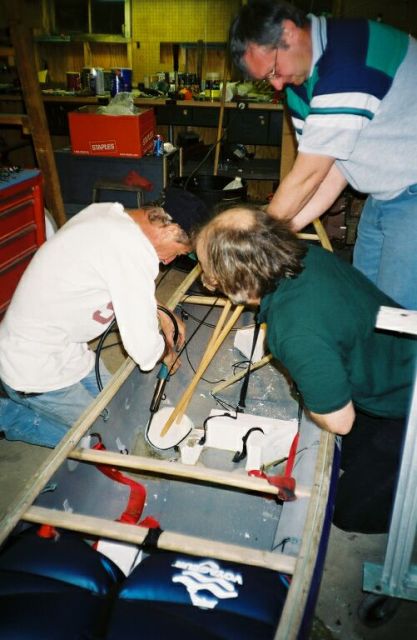
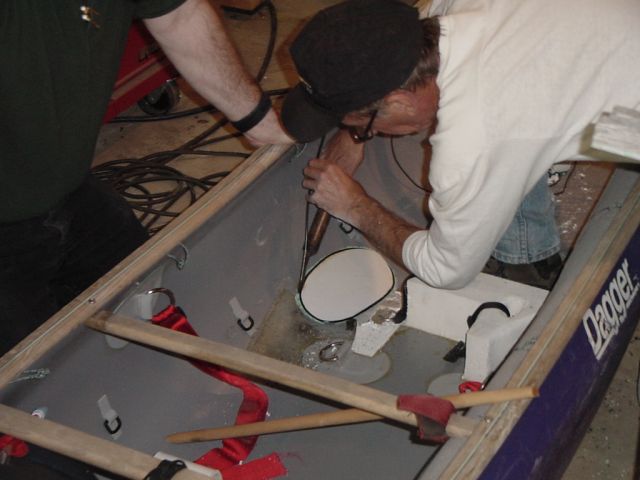
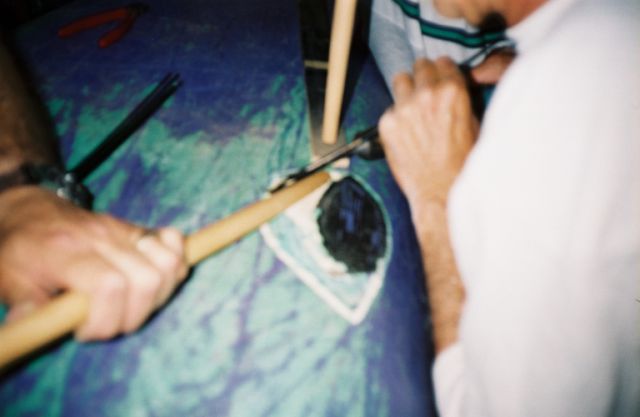
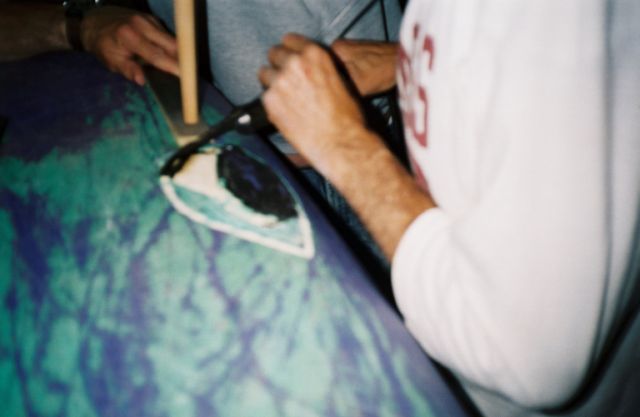
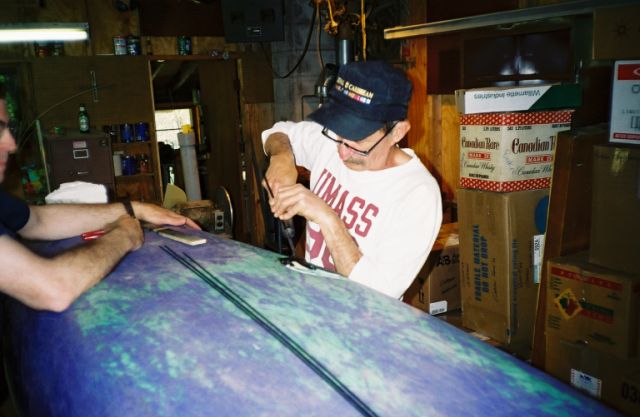
6. Using available slave labor (MVP members Skip Morris and Mark Lacroix), the patch is held in place for an initial weld. Jim is holding the welder and running a bead of ABS welding rod along the edge of the patch and the undamaged area of the boat that was ground out. |
The ABS patch could also have been softened with a heat gun and bent to form it into place avoiding the need to hold it in place. (Necessary if no extra hands to hold patch in place.) |
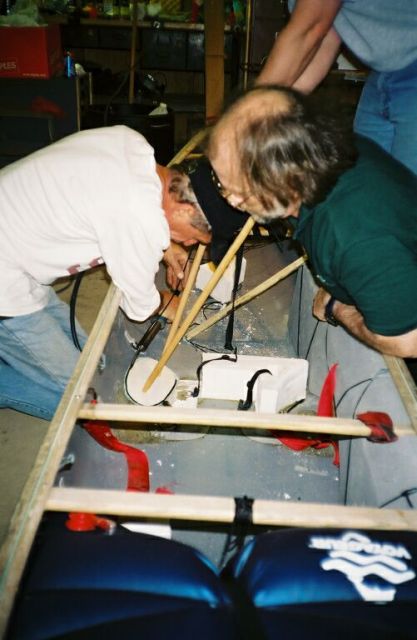
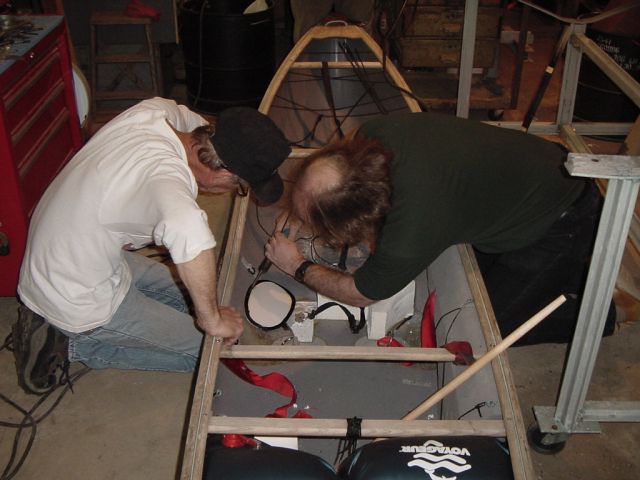
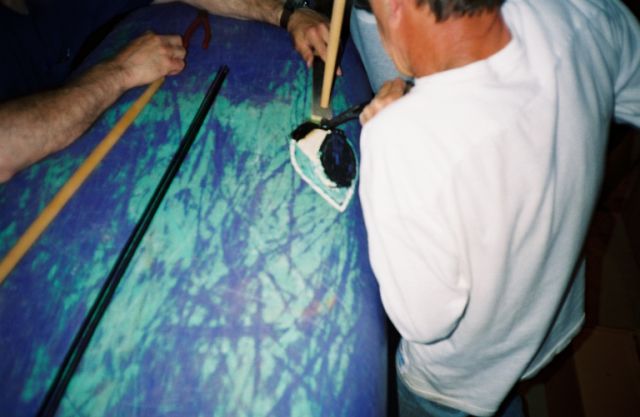
7. Continuing the initial weld in one long motion. The first weld is the most critical. The outfitting that was cut away to expose the hull is clearly visible here. |
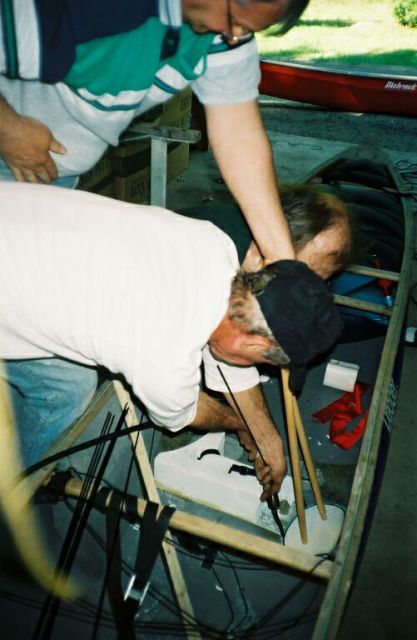
8. Finishing up the inital weld. This was one continuous motion with Jim climbing over the boat while continuing the weld. This takes a practiced hand and he made it look easy. |
9. The first weld is compelete, the patch is being held in place. Next step is to add some more welds for strength. |
10. Starting the second weld. |
11. |

12. Continuing additional welds along the initial one for reinforcement. No help is needed as the first weld holds the patch in place. |
13. One of the students (Skip) gives it a try, but only on the outer less-critical areas. |
14. Close-up (blurred) of additional welds. |
15. |
16. In all, 7-8 welds were performed, each one building up the connection between patch and hull. |
17. Finished patch and weld on the inside of hull. |
18. Final view of inside repair. This must be painted to prevent UV degredation from sunlight. ABS gets brittle when exposed over time to the sun. |
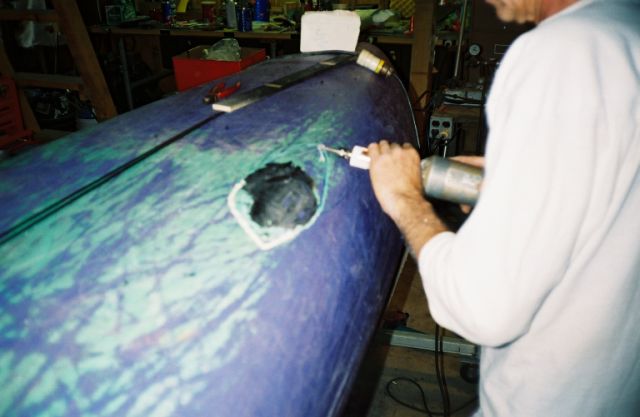
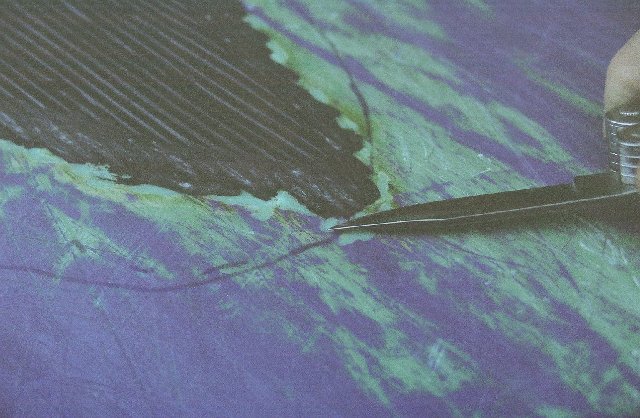
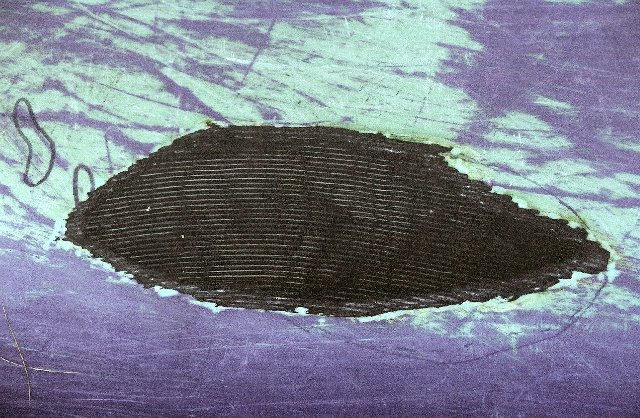
19. Grinding out the bad delaminated sections on the outside. (Next to the original patch.) Also, an area outside of the damaged section has been outlined and ground out where a final surface ABS patch will be installed. Note the the upper area of the ground out area the hull seperation is clearly visible. The separation goes both thru the hull plus extended in the inner foam core of the ABS sheet. Not all of the separated area was removed since it wasn't totally distroyed, instead the separated surfaces will be welded together with additional ABS filling in the removed area. |
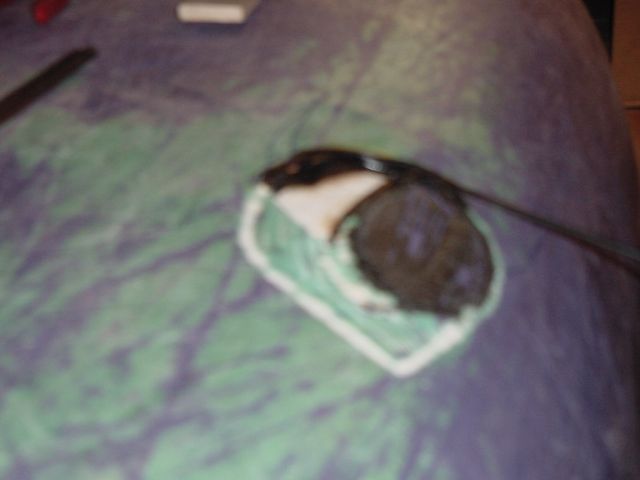
20. Putting pressure on the separated sections of the hull to hold them together long enough to perform an initial weld. |
21. Holding the hull sections down while initial weld to join separated sections is performed. |
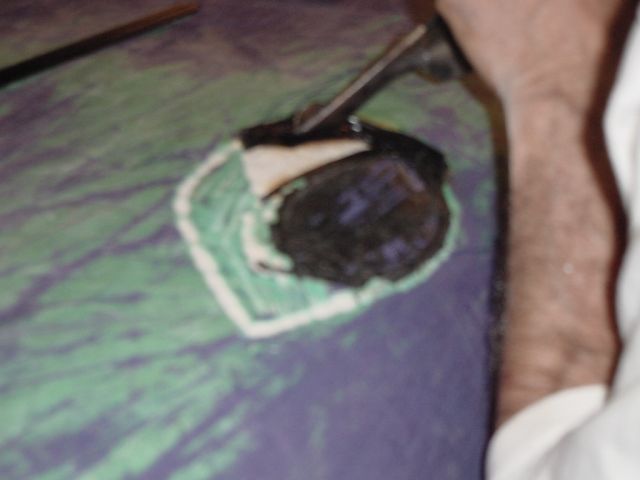
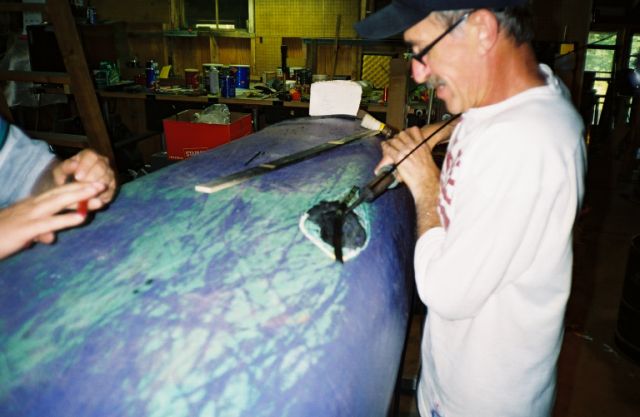
22. Additional welds to full in and strengthen separated areas. The entire hollowed out area that was ground out will be filled with ABS. |
23. Continuing to weld, fill, and reinforce. |
24. As each pass of the welder is completed, the welder is quickly drawn away from the weld pulling the extra welding rod thru the welder. (Shown here sticking up away from the boat.) The extra is just clipped off with a set of wire clippers and the next welding pass is started. |
25. The new weld now links up the old weld. |

26. Finishing up the initial joining and filling. Most of the area that was ground out has now been replaced by new ABS. Notice the raw ABS welding rods sitting on the boat hull ready for insertion into the welder. |
27. Continuing to weld and fill. The separations of the hull have been welded together. Only the damaged (removed) areas need to be replaced now. |
28. Almost finished. |
29. Touching up the last bits. |
30. The initial repair finished; the weld is now ground down to make it even with the other patch and undamaged hull sections. |
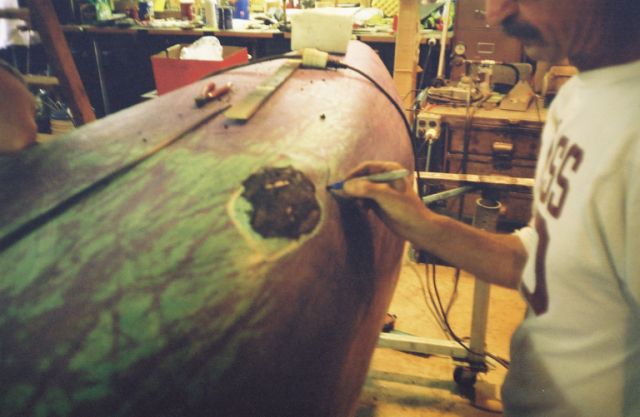
31. Initial repair and filling finished and smoothed out; Jim decides that the final top layer patch should be larger then first estimated, extending beyond the initial patch on the inside of the hull. He outlines the area for the final patch with a marker. |
32. The edge of this section is now ground down slightly to provide an area of undamanged ABS to weld the patch to. The inside of the area will be roughed up with the die grinder (but not as deep as the edge) to allow the patch to adhear to the hull. |
33. Starting from the center, a set of ABS beads is drawn along the area of the patch. |
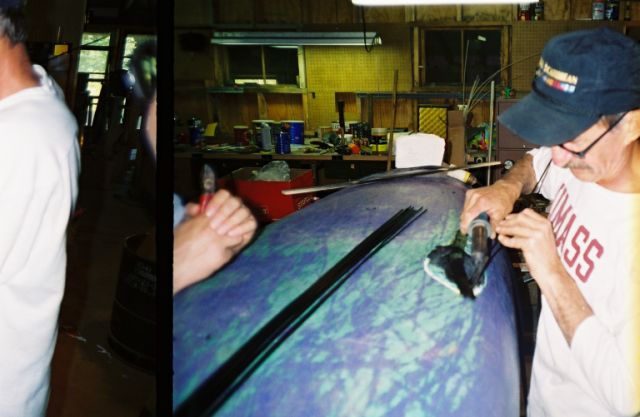
34. The patch is widened until the entire area will be covered. (Notice Jim's fashionable UMass shirt. He recently retired from UMass, he was supervisor of the maintenance shop there.) |
35. |

36. The edges of this final patch will now be smoothed out with the die grinder to prevent the patch from catching on rocks. |
37. Once the weld is finished and edges smoothed out, test the edge of the weld with a knife blade. If a knife can get catch against the weld then a rock can also. |
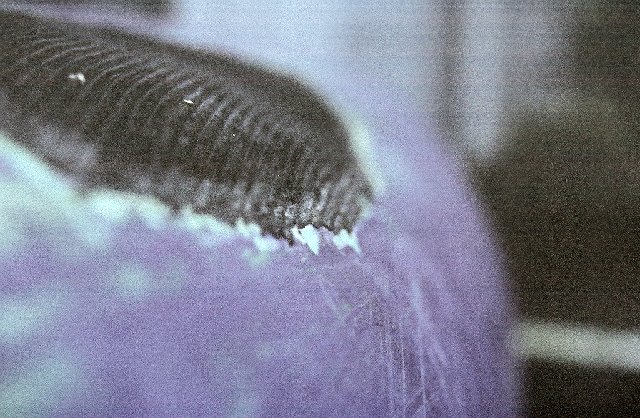
38. The end-view shows how the patch makes a smooth transistion to the hull. |
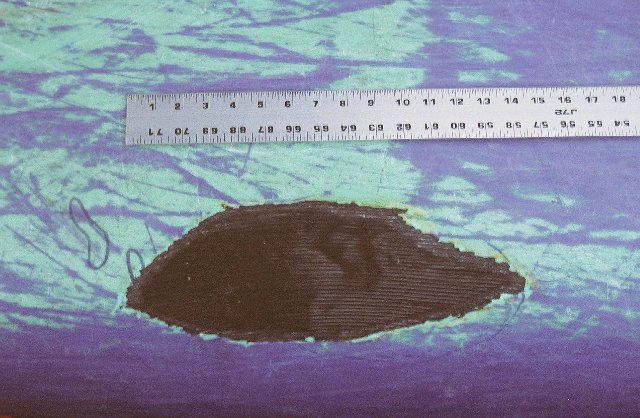
39. The final patch was about 14 inches long. |
40. Final view of main repair from the outside. |
The final step for the repair is painting all the raw ABS to prevent any UV degredation (ABS gets brittle when exposed to the sun). |