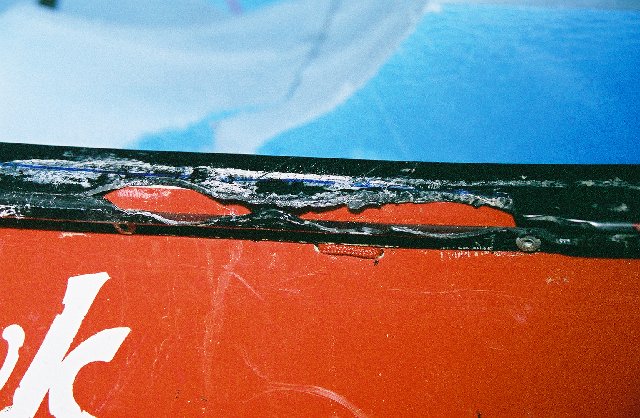
| This damaged occured on the South Branch of the Ash; a Class III+ river near Keene, NH. This happened on a cold New England March weekend when ice formed all over the boat (Tom Quarles will remember this trip.) Below the most difficult section the river is very steap and Skip had built up quite a bit of speed. At the bottom of the drop the side of the boat hit the bridge abutment and the gunnel shattered since it was so cold and brittle. For a while the damage was just covered by duct tape, but eventually a trip to Jim Booker's Boat Hospital was in order. |
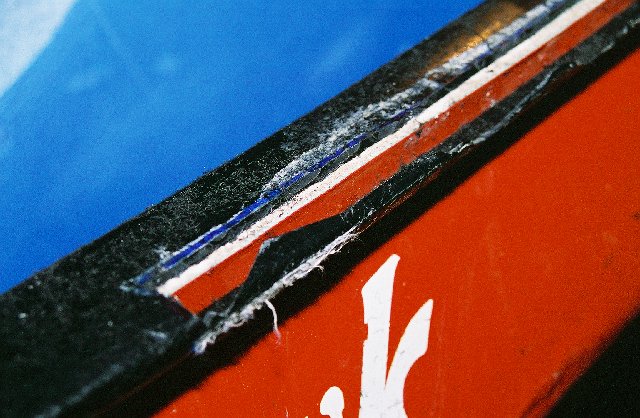
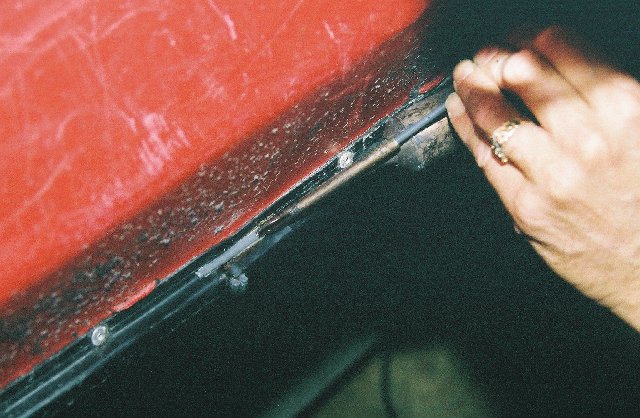
| 1. The area to be removed and and replaced is outlined with a blue Sharpie. Draw the line with a straight-edge since it has to match up closely with the replacement part. |
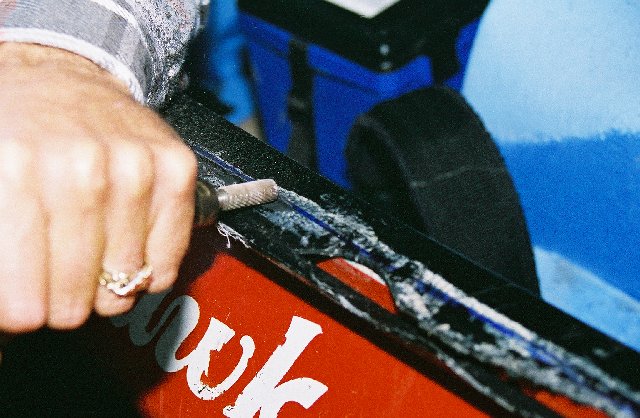
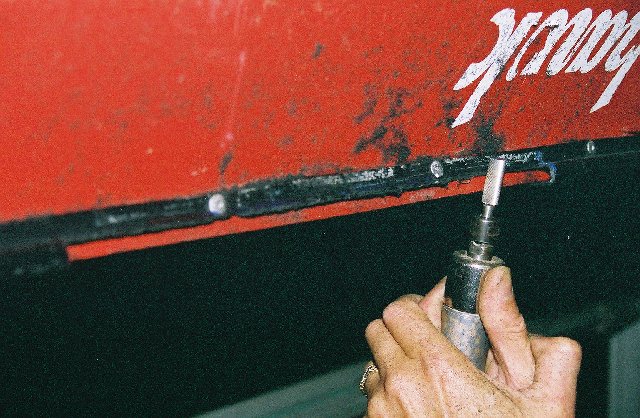
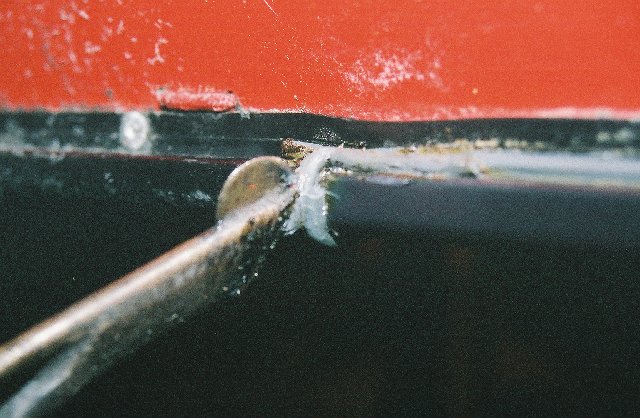
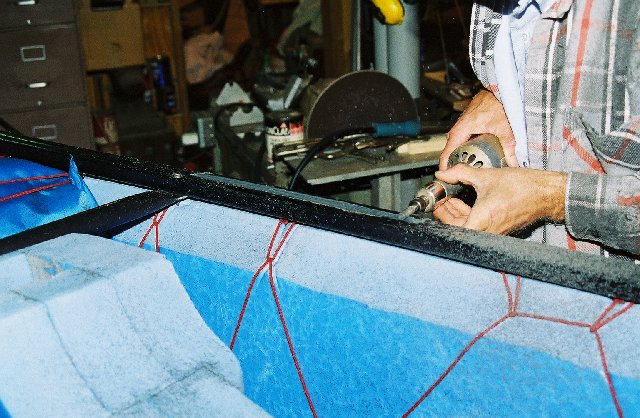
| 2. Using a die grinder, the damaged section of gunnel will be removed, starting here with the top. |
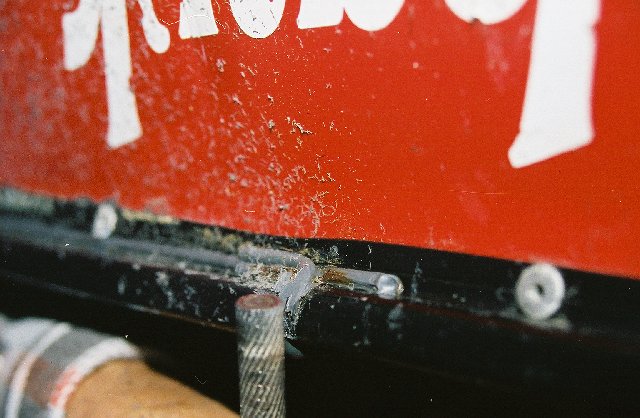
| 3. The top section has been removed, leaving a clean opening for the replacement gunnel section. |
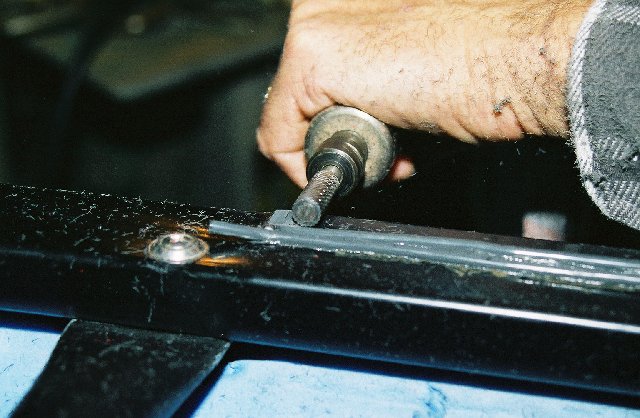
| 4. Turning the boat upside down, we start removing the bottom section of the damaged gunnel. |
| 5. And once that's done we smooth and straighten it out. |
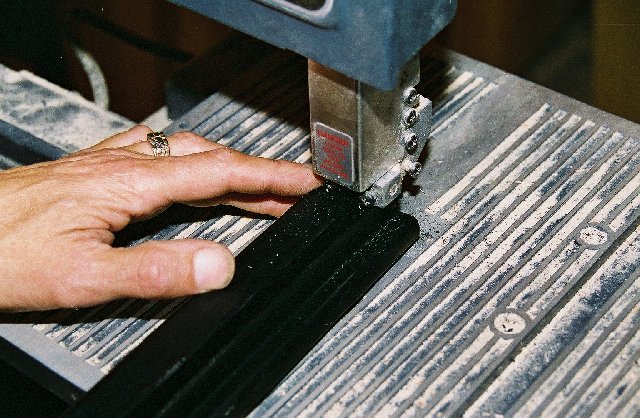
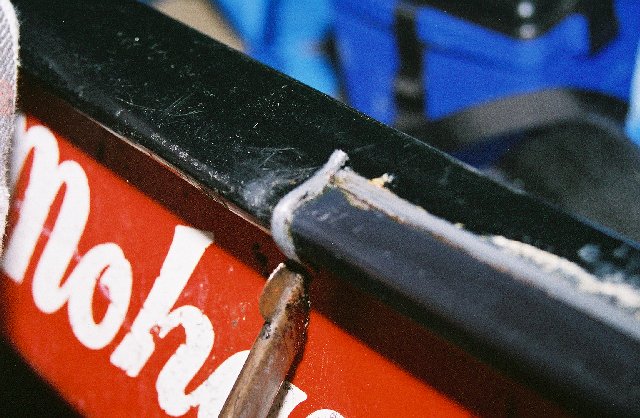
| 6. A segment of replacement gunnel ordered from Mohawk is trimmed on a band saw to fit into the opening that was cut out. The new piece didn't match the older one exactly (different years, different designs), but it was close enough. We also cut the new piece in half lengthwise since only the outside half will be used for this repair. |
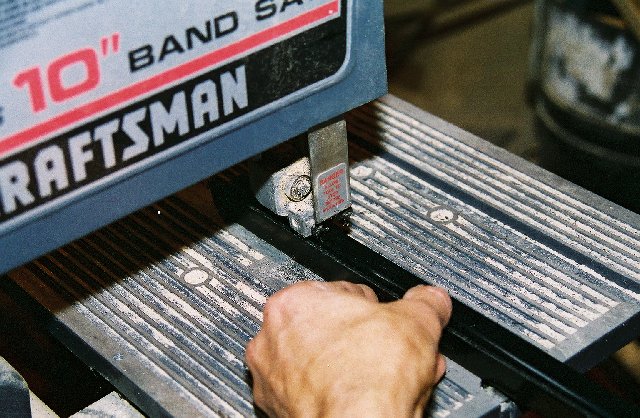
| 7. The ends are trimmed to the correct length as well. |

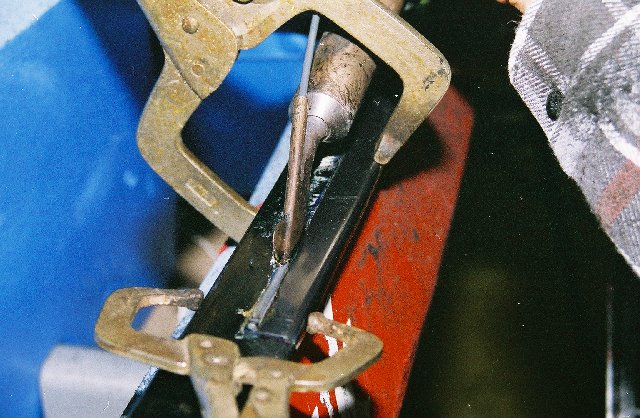
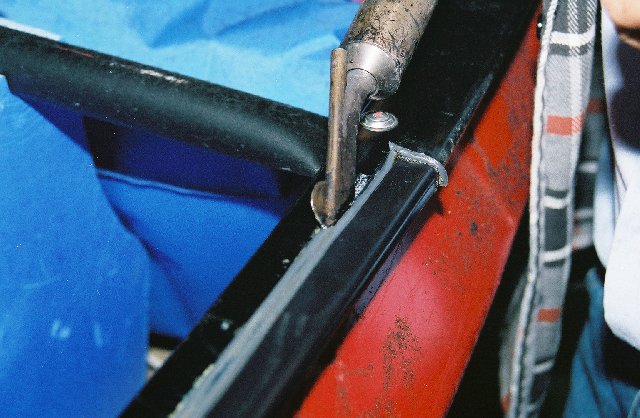
| 8. The replacement piece is clamped to the boat, and a small weld is performed just to hold the bottom in the place. |

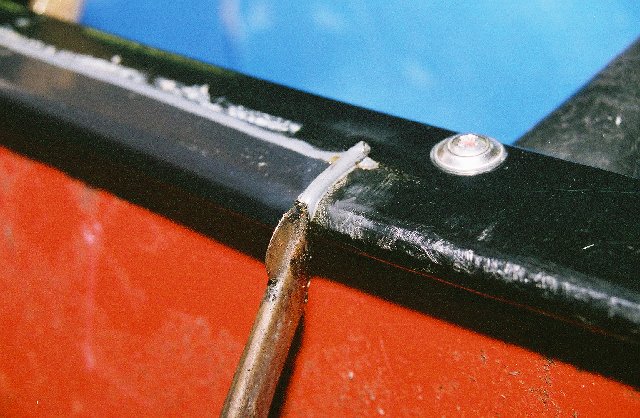
| 9. The boat is turned right-side up again, and the new gunnel section is clamped into the correct position on the top. |
| 10. The first full weld is performed lengthwise, attaching the new piece to the original gunnel. |
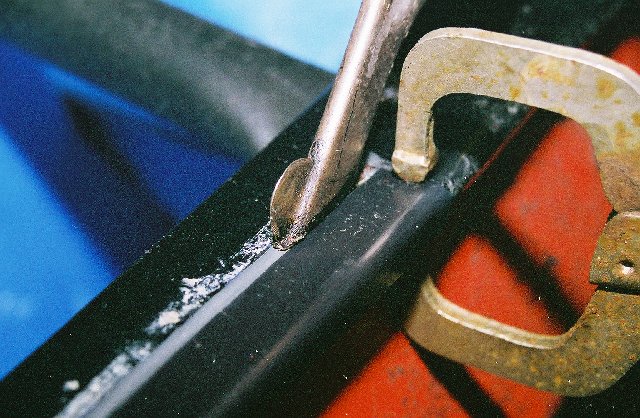
| 11. Continuing the first weld down the length of the joint. (Notice that while the gunnel is black PVC? (I forget), the welding rod is grey. It's not always possible to get welding rod in a matching color.) |
| 12. Now the top-left side of the joint is welded. |
| 13. And the top-right side. |
| 14. A second, reinforcing weld is run along the length. |
| 15. The boat is turned over and a full weld is run lengthwise along the bottom joint. |

| 16. Continuing the weld along the bottom. |
| 17. Welding the bottom-right edge (but left since it's upside down). |
| 18. And the bottom-left edge. Once all the welds are done we now trim all the welds with the die grinder. |
| 19. Trimming the top-right end. |
| 20. Trimming the top lengthwise weld to make it even with the rest of the gunnel. |
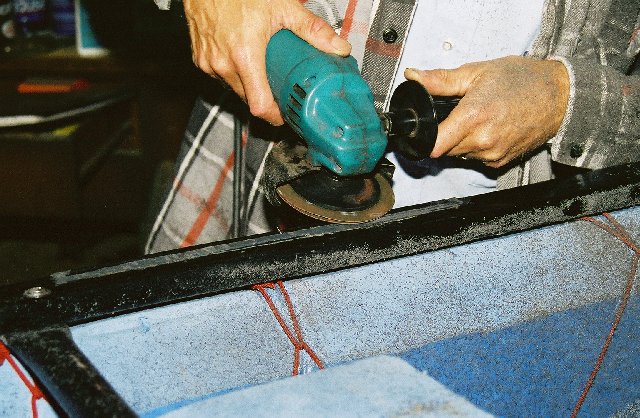
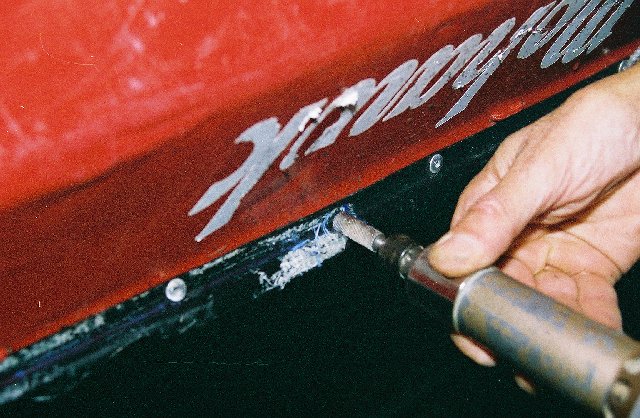
| 21. Touching up the trimming with an angle grinder. You want this as smooth as possible since the paddlers hand brushes along this gunnel every paddle stroke. |