|
This one is all Bob Z's fault. When he was first learning to boat back
in the mid 90's he went for a swim in Poplar Hill Rapid on the Dead
while paddling one of Skip's boats. Bob made it to the eddy but the
boat (a Mohawk Scamp) went on down the rapid with Skip in hot pursuit.
A close encounter with a huge hole followed, with the hull of Skip's
Probe hitting a rock... hard...
At the end of the trip a slight crease was noted on the bottom of the Probe where the rock had struck. (The Scamp was fine, those things were indestructible.) |
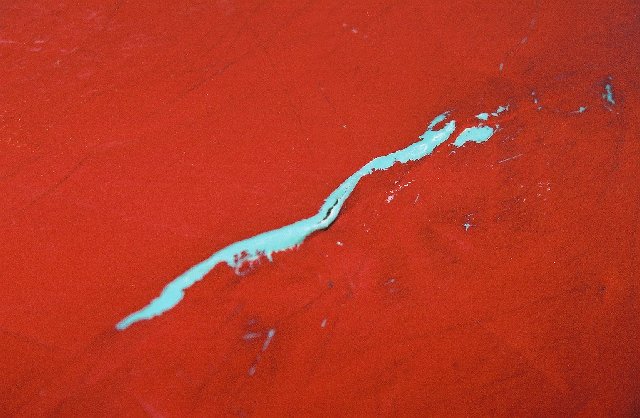
| 1. A year later the outer vinal paint layer had worn away and a crack had developed. The boat was brought in to Jim Booker's Boat Hospital. |

| 2. First thing to do is press against the hull with fingers and look for soft spots that indicate delamination of the hull. It's not readily visible, but it can felt easily. An ABS patch will have to be applied to cover the entire delaminated area to prevent (or more likely just slow down) furthur damage. |
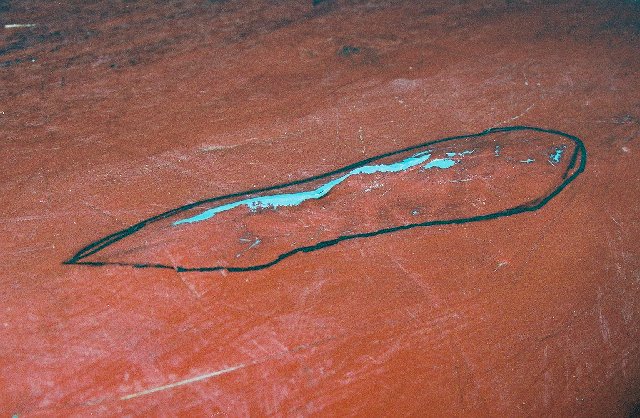
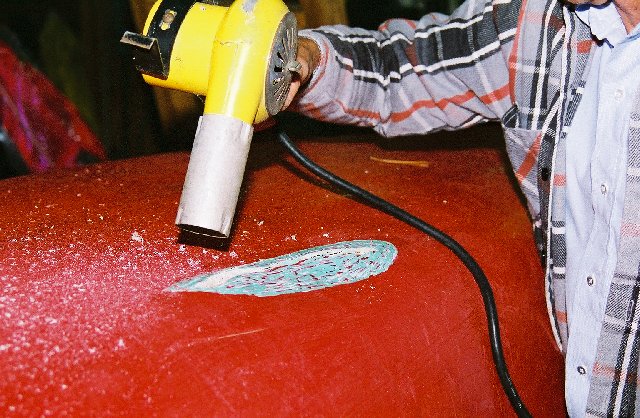
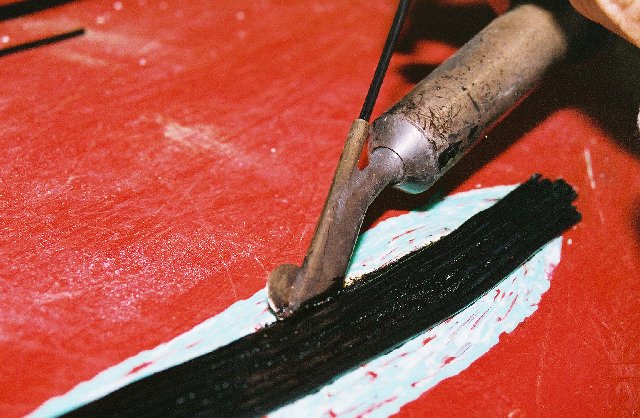
| 3. Here Jim has outlined an area for the patch to cover with a marker. |
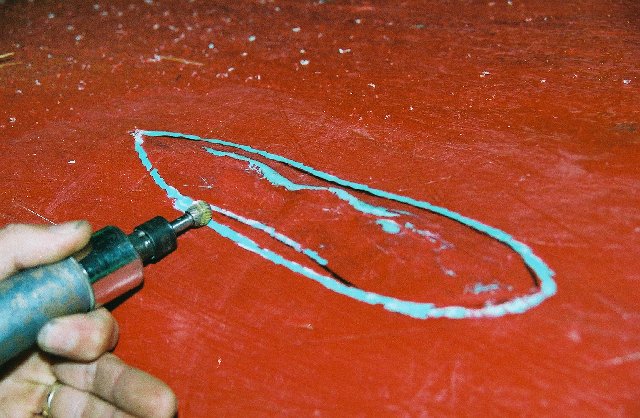
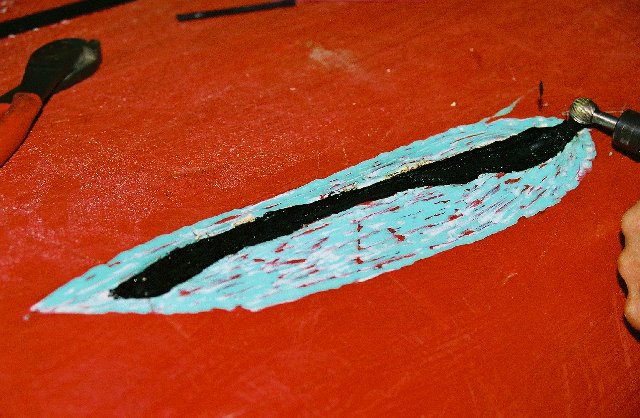
| 4. Using the die grinder, the outer layer of vinal is ground down along the outside edge where the patch will go. This is the outer limit of the work area. The surface vinal has to be removed since any ABS repair patch can only be welded to the ABS inner layers of the boat, not the outer vinal covering. |
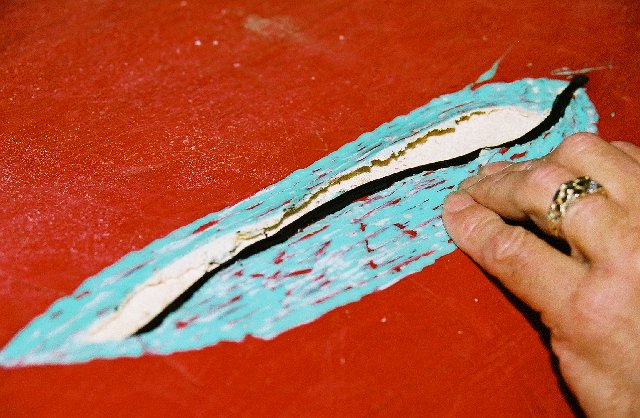
| 5. Now we tackle the crack; all the damaged vinal and ABS will be removed by the die grinder. |
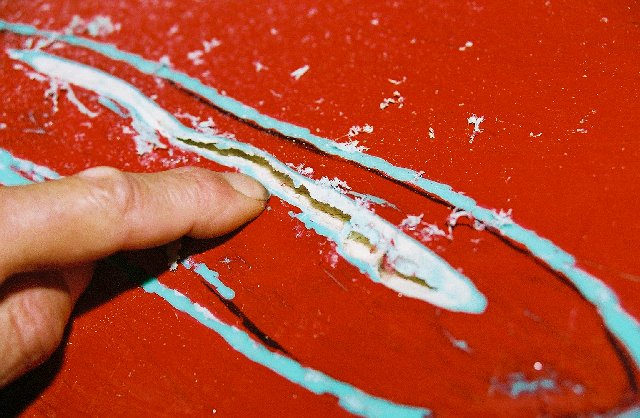
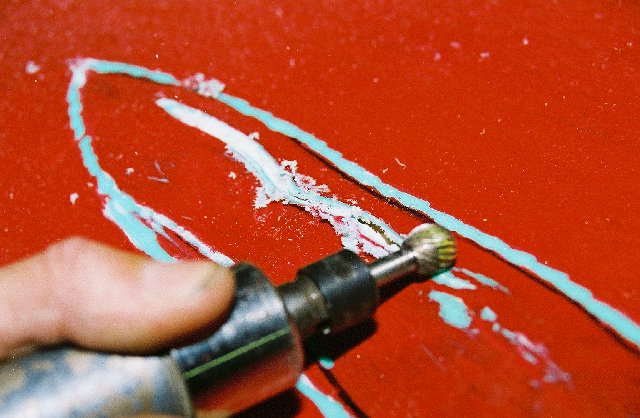
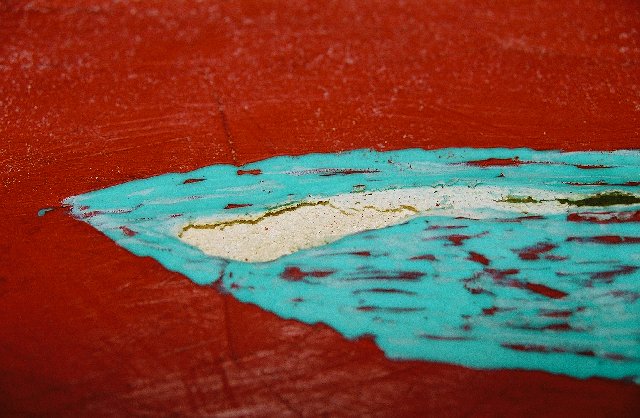
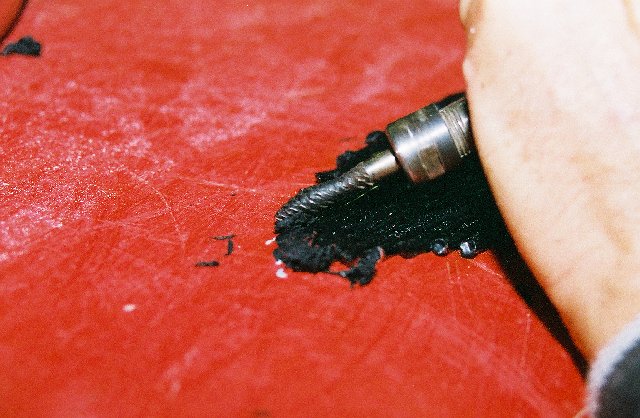
| 6. With some of the damaged material removed, you can see the delamination underneith the surface. |
| 7. The delamination extends to the edge of the area that was outlined. This boat should have been brought in for repair much earlier, the delamination could have been stopped before it got this bad. |
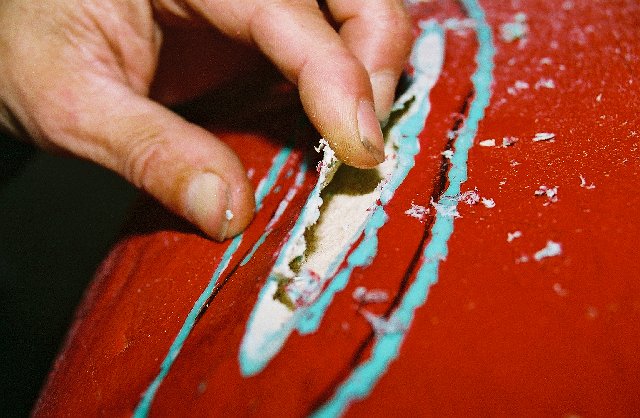
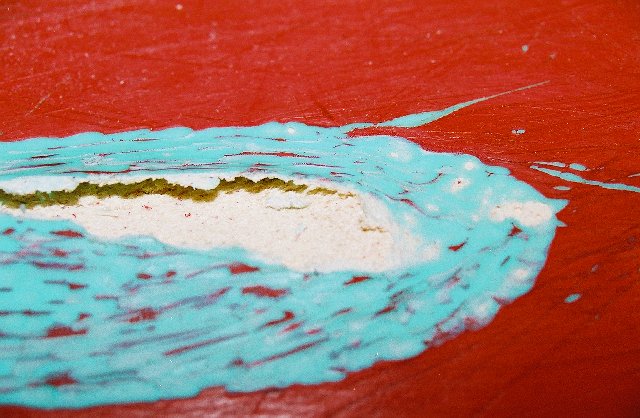
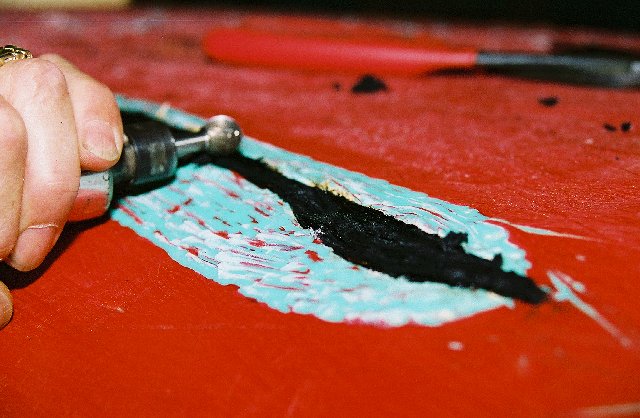
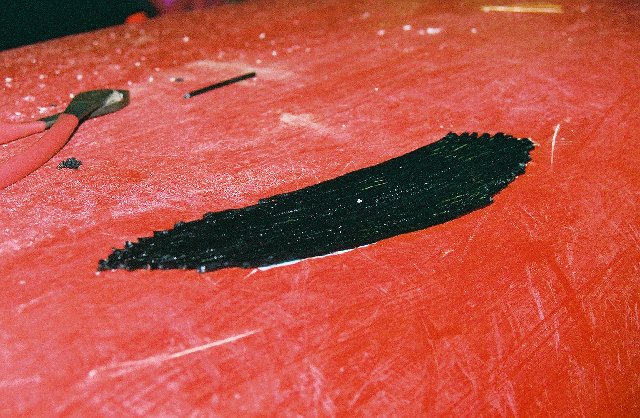
| 8. Now all the surface vinal is removed to provide a base for the welded patch. (ABS welding rod must be welded to the ABS of the boat, the surface layers consist of crosslink vinyl and cannot be welded.) |
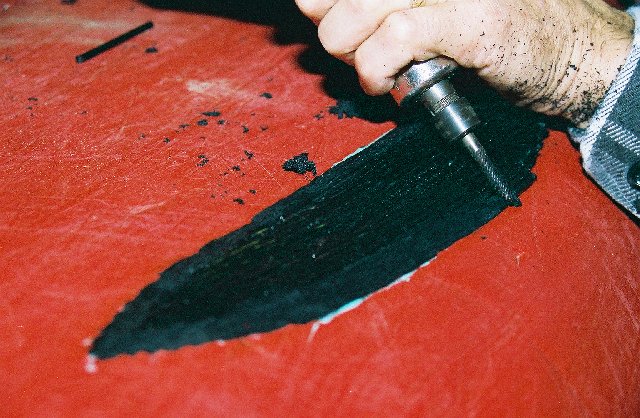
| 9. Finishing up the last bits of grinding and damaged material removal. |
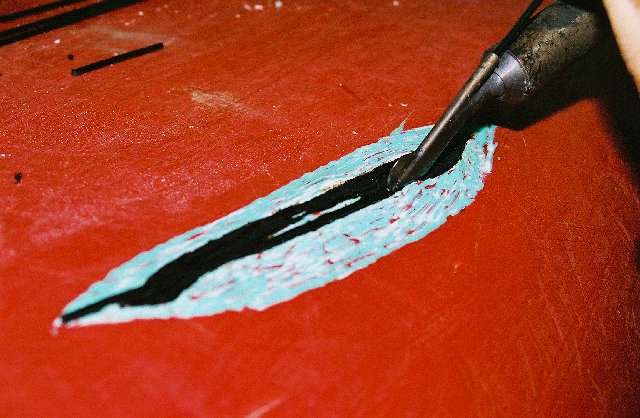
| 10. With the damaged area exposed, the inside is dried out a bit with a heat gun to remove excess moisture. |
| 11. Close-up of left side of damaged area, ready for patching. |
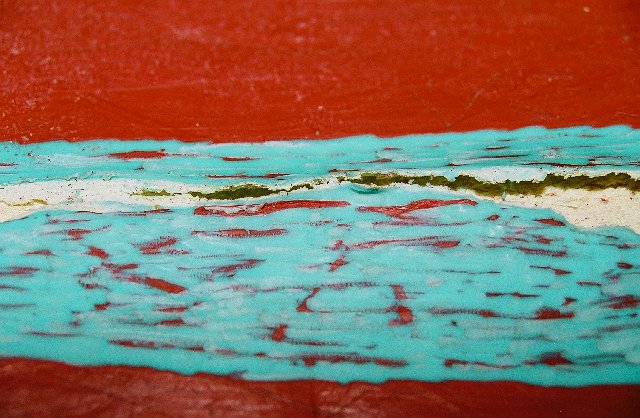
| 12. Close-up of center. |
| 13. Close-up of right side. |
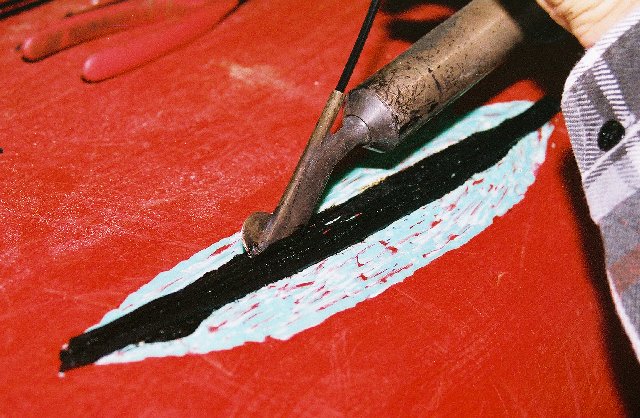
| 14. The first ABS strips are layed in, tacking the edge of the outer ABS shell to the inner foam core. |
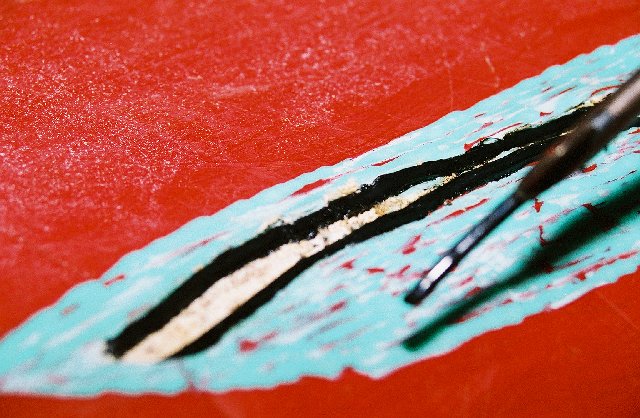
| 15. Both sides of the damaged surface area have now been welded to the inner foam core of the hull. |
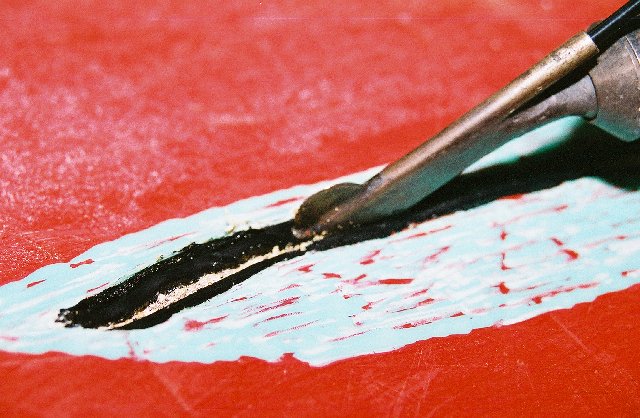
| 16. With the ABS layers reattached to the foam core we're still left with a big hole where all the damaged material has disintegrated. This void will be layered with more ABS, filling and strengthening the damaged area. |
| 17. Continuing to weld and fill the damaged area until all the damaged material has been replaced. |
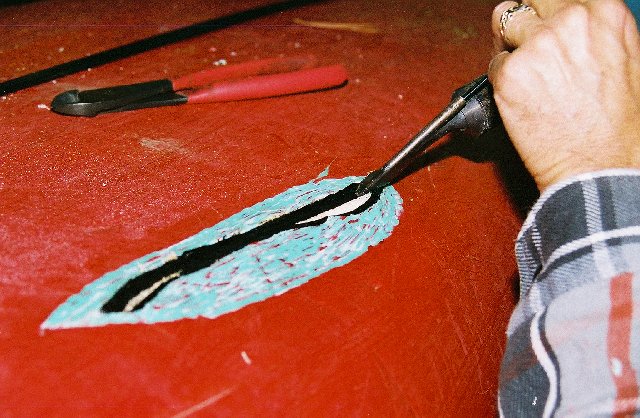
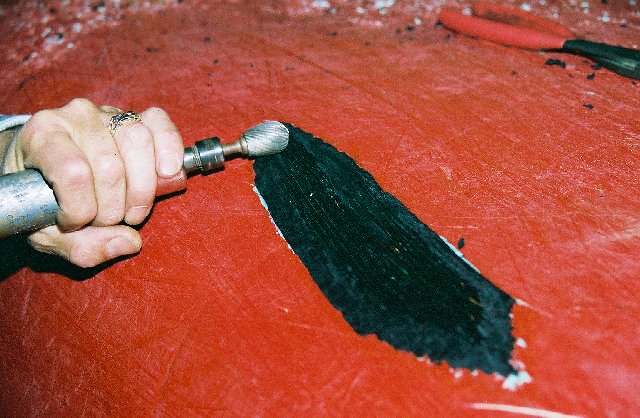
| 18. The damaged area has been filled and welded shut. Now the die grinder is used to smooth the weld down to be even with the rest of the hull. |
| 19. Continuing to grind down and make the weld even. The void was narrower in the center resulting in a slight bulge that must be ground down. |
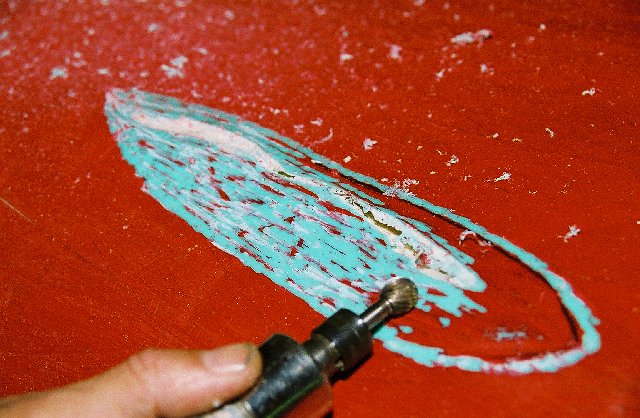
| 20. Once the inner weld is smoothed out, a second, outer patch will be applied. Here the first welding rod that will make up the outer patch is layed down on top of the first weld, but extending the entire length of the work area. |
| 21. Continuing to build the outer layer patch, one weld at a time across the entire length of the weakened area. |
| 22. Eventually the entire inner weld is covered. |
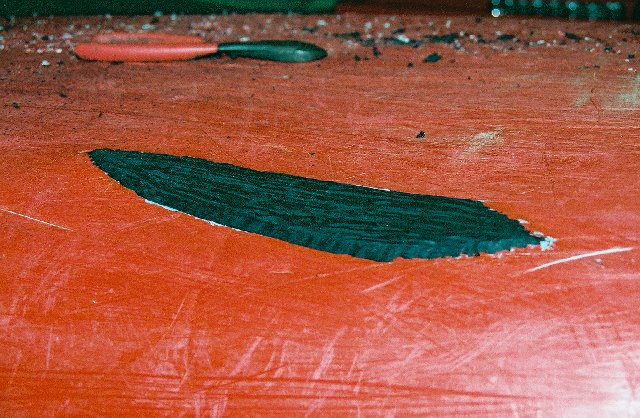
| 23. And finally, the outer patch has been applied that completely covers the damaged and weakened area. |
| 24. Now using the die grinder smooth the patch to not leave any abrupt edge to catch against rocks. |
| 25. Continue the smoothing all around the patch. |
| 26. And the surface of the patch can be smoothed as well for asthetic purposes (this is optional). |
|
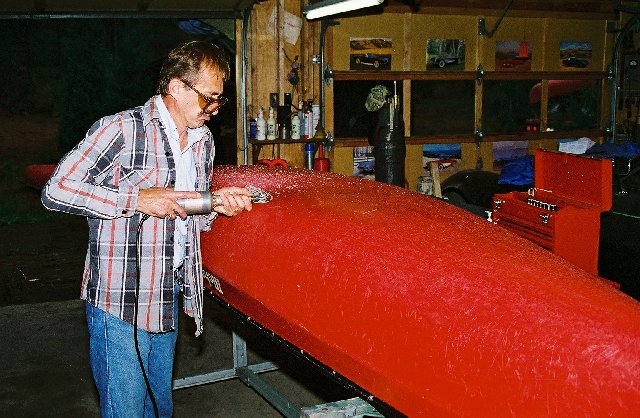
27. Finished patch, ready for painting. This new area (of solid ABS) is
stronger then the original hull and will probably last the life of the boat.
Painting is extremely important. The new patch DOES NOT have a protective outer layer of vinyl. It must be protected from the sun or it will quickly get brittle. Additionally it will need to be repainted every so often (maybe once a year) since the paint will wear off much easier then the original vinyl. |