|
This one happened on the Lower Winnipesaukee River in Franklin, NH
in the late-spring of 2003.
On the very last rapid (Zippy's Final Plunge), the river passes under
a railroad bridge. The center route has a large pushy wet wave-train
that provides a great ride. Unfortunately on this day there was also a
hidden log with a sharp upturned branch under the surface.
When plunging over the first wave the boat slammed down against the log
impaling itself on the branch. The boat actually stopped-short and hung
there for a few seconds until the current ripped it free. At the takeout
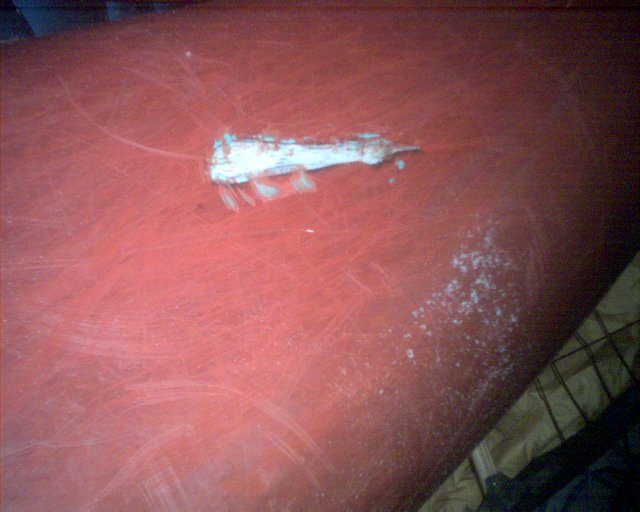
(just below the rapid) a hole was found protruding thru the bottom center
of the hull where the branch had impaled the boat.
There was no real structural damage, duct tape worked for a while. But eventually a repair was in order. |
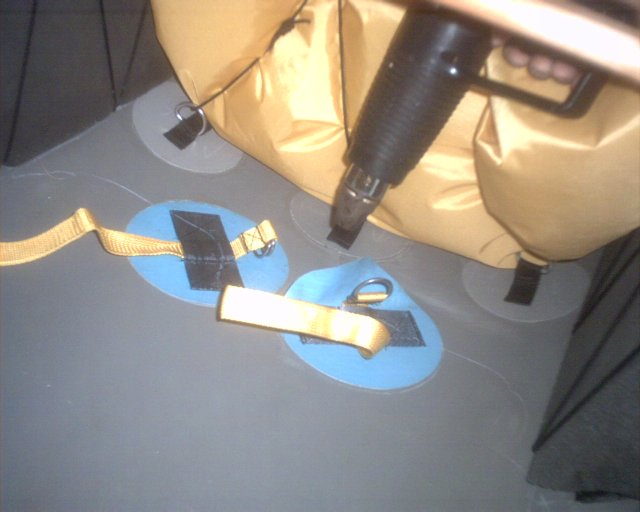
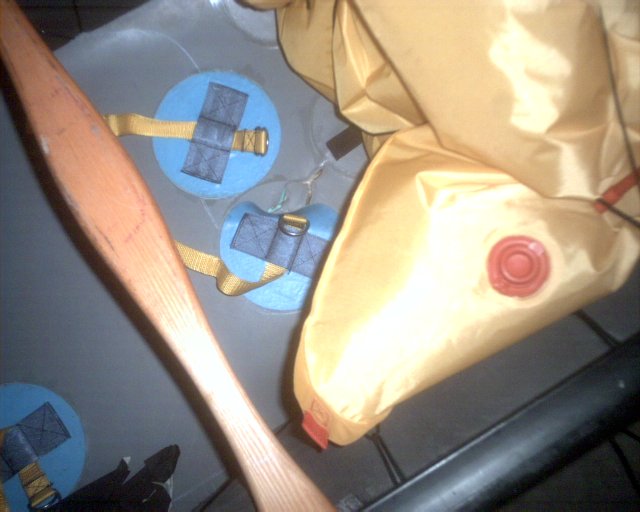
| 1. First step was to heat up the inside surface and pull back the D-ring to expose the damaged area. Once the damage can be seen the next steps can be planned. In this case hole wasn't too big, but it was deformed and bent along the edges, so the next step was to heat up the damaged areas to get them soft enough to bend back in place. |
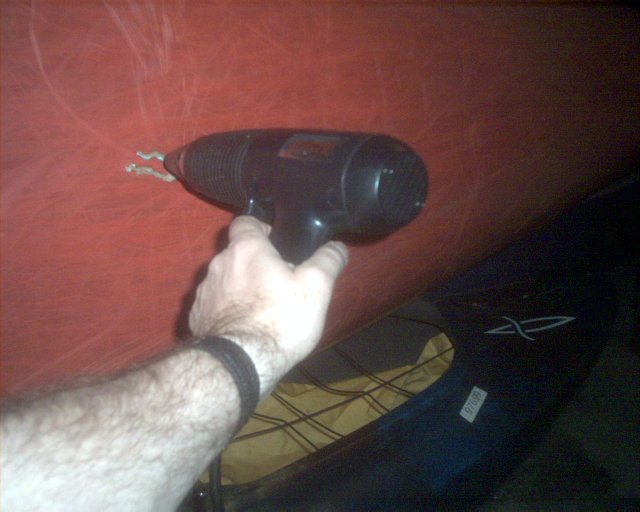
| 2. Both inside and outside are heated up. Be careful not to heat it up too much, it doesn't take much to align the deformed areas. |
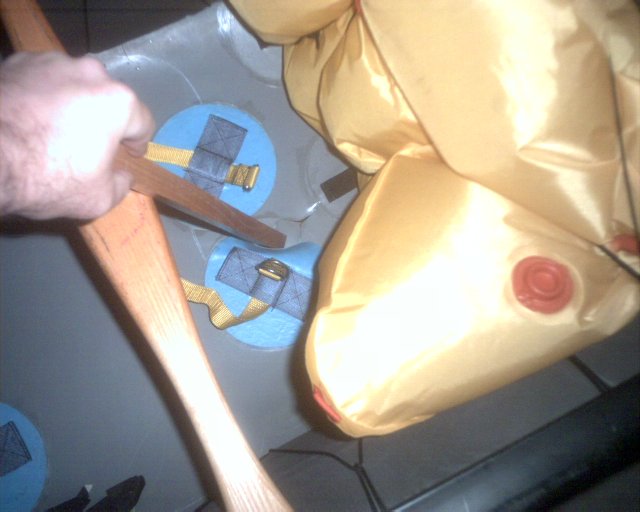
| 3. It's a little too hot to touch with a bare hand, a handy stick is used to do the bending. |

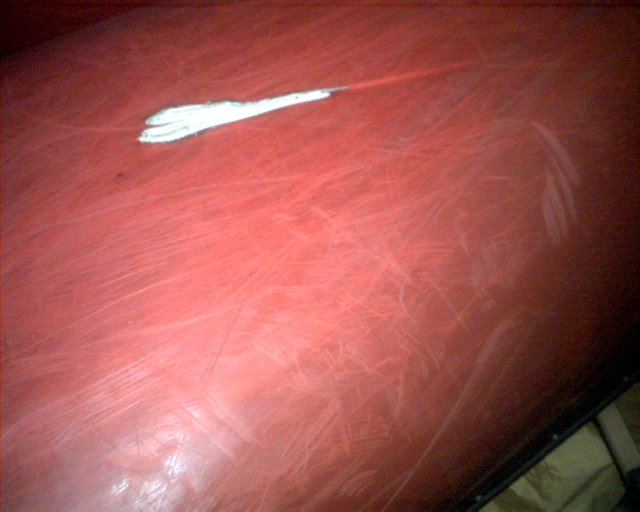
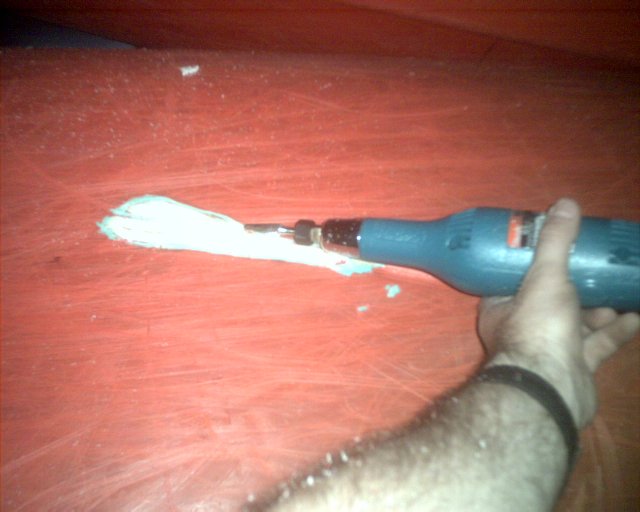
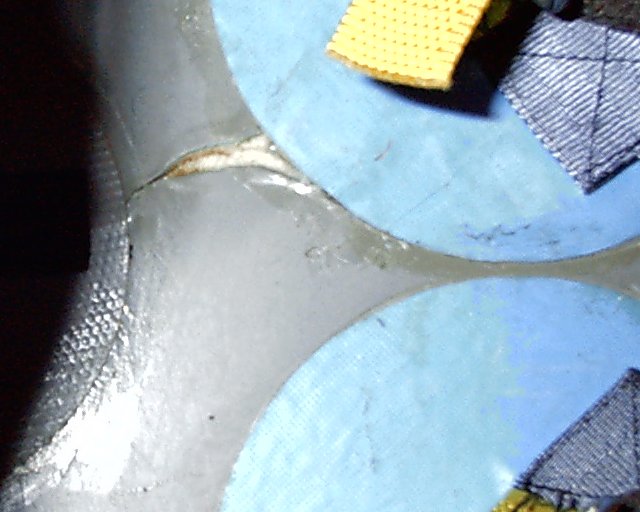
| 4. Now use a die grinder to remove the most damaged sections and provide a good base for welding. This photo also provides a good view of how the branch scraped along the hull before punching thru. The crease could also be welded, however the damage didn't appear to be bad enough to warrant it. |
| 5. The first set of welds are complete, the hole has been patched at the inner form core layer. Now we're ready for a second layer patch on the outside. (Note the use of "natural" colored ABS stock instead of the black ABS rod used on other repairs. Skip purchased 1/8" ABS stock in black and 5/32" stock in natural. This is only to easily and quickly identify the different rod sizes and know which welding tip to use. No matter which color is used it still has to be painted.) |
| 6. The second outside patch has been applied; covering the inner patch and blending with the ABS substrate layers and surface of the hull. |
| 7. Now we grind down the edges of the patch to make it smooth. |
| 8. Edges are mostly smooth here. |

| 9. Almost done. |
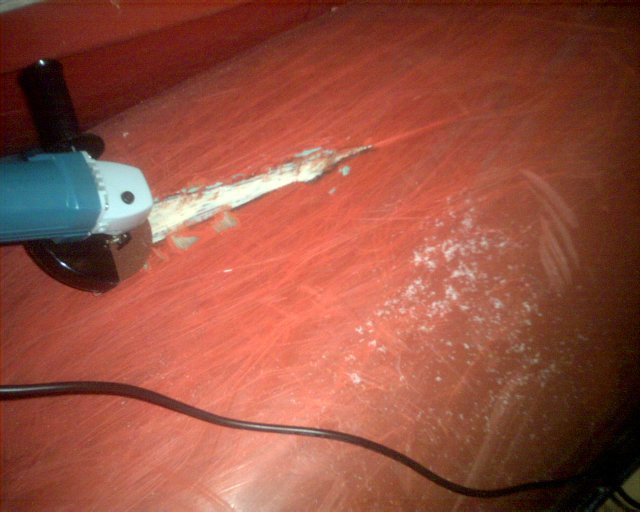
| 10. An angle grinder is used for final smoothing. |
| 11. All done, although Skip was a bit rough on the grinding and hit the vinyl hull surface a couple times. |
| 12. Finished repair viewed from the inside. |
| 13. Closeup with D-ring glued back down. Almost as good as new!!! Next step... painting. |
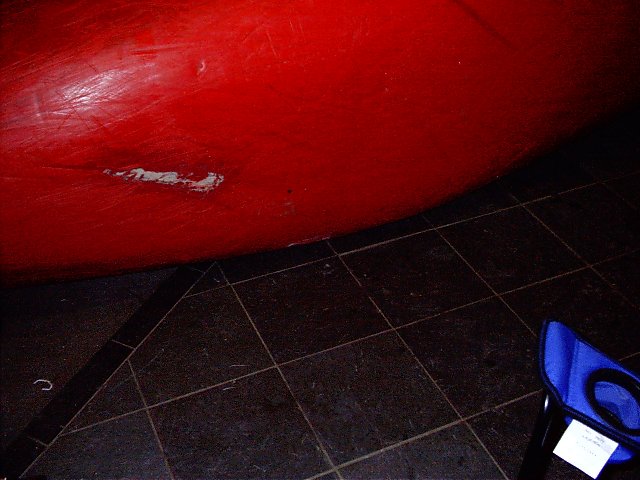
| 14. Outside view, photo taken about a year after the patch. Note that the paint wears away since it's not as nearly as tough as the vinyl skin. |
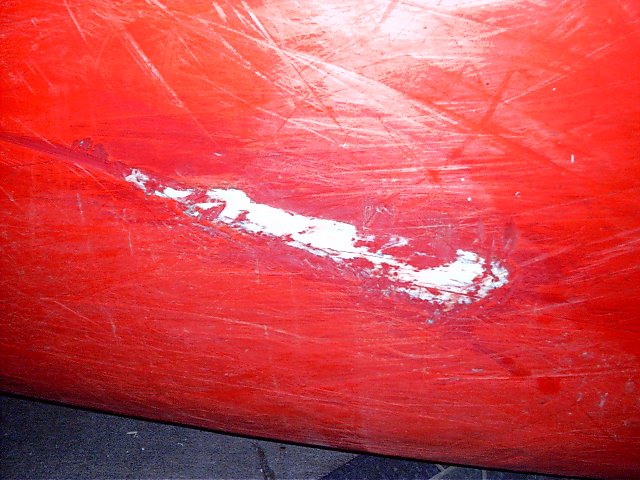
| 15. Closeup of outside view of patch. Note how the final smoothing using the Die Grinder and Angle Grinder made the patch blend evenly with the hull. |